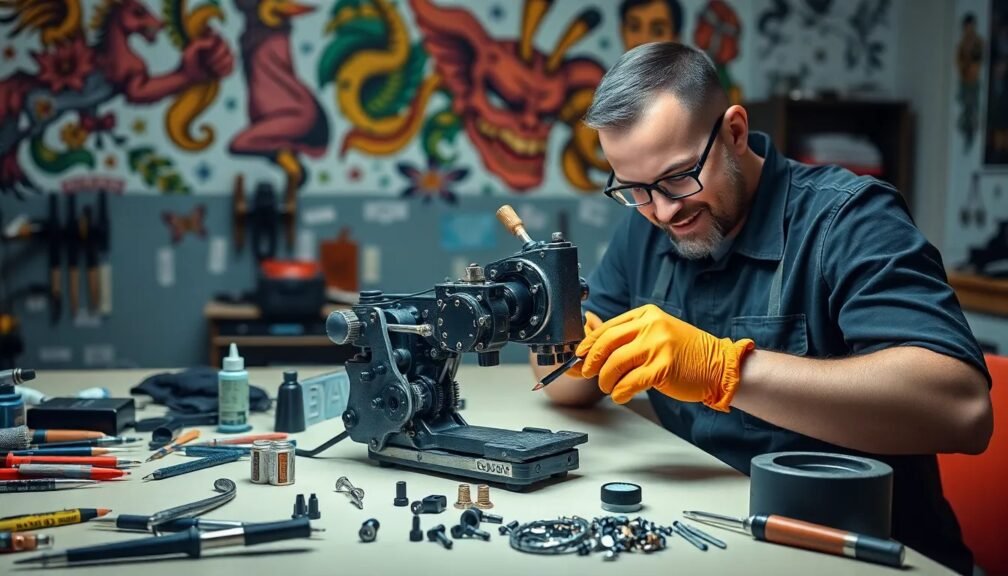
Tattoo Machine Repair: Quick Fixes for Common Issues
In the world of tattoo artistry, your tattoo machine is your most essential tool. However, even the best equipment can face issues over time. Whether you’re a seasoned artist or an enthusiastic beginner, understanding basic tattoo machine repair can save you time, money, and frustration. This article will guide you through common problems, quick fixes, and preventative measures for effective tattoo machine maintenance.
Understanding Your Tattoo Machine
Before diving into repairs, it’s important to know the types of tattoo machines available. Broadly, you can categorize them into two types: coil machines and rotary machines.
- Coil Machines: These machines use electromagnetic coils to create needle movement.
- Rotary Machines: Employing a motor, rotary machines provide a smooth and consistent needle movement.
Common Tattoo Machine Issues
1. Machine Not Starting
One of the most common issues is the machine failing to start. This can stem from multiple problems:
- Check Your Power Supply: Make sure the power supply is functioning. Test it with a different machine if possible.
- Inspect Cords and Connections: Frayed cords or loose connections can prevent power from reaching the machine. Replace faulty cords or tighten loose connections.
- Examine the Foot Pedal: A malfunctioning foot pedal can disrupt power. Try bypassing the pedal to determine if that is the issue.
2. Uneven Needle Movement
If your machine has an uneven needle movement, it can ruin a tattoo. Here are a few steps to troubleshoot:
- Clean the Machine: Dirt and ink can build up in the machine’s components. Regular cleaning will maintain performance.
- Check the Armature Bar: Ensure it moves freely; a binding bar can lead to uneven movement. Adjust it if necessary.
- Inspect the Springs: Weak springs can cause inconsistent movement. Replace springs if they appear damaged or worn out.
3. Ink Spitting or Leaking
Ink spitting can ruin the quality of your work. Here’s how to fix it:
- Adjust the Needle Depth: The needle might be set too deep. Experiment with the depth for a smoother flow.
- Use the Right Needle Configuration: Ensure you’re using the appropriate needle for the type of tattooing you’re doing.
- Check for Air Bubbles: Air trapped in the machine can lead to spitting. Try tapping the machine gently while it’s running to release these bubbles.
Quick Fixes for Tattoo Machine Repair
In addition to understanding common problems, knowing quick fixes can come in handy during a tattoo session. Here’s a breakdown of immediate solutions:
1. Squeaky Machine
A squeaky machine can be distracting, and it often indicates a need for lubrication.
- Apply Oil: Use machine oil specifically formulated for tattoo machines. A few drops on the moving parts can silence the noise.
- Tighten Screws: Loose screws can lead to unwanted noise. Regularly check and tighten them.
2. Overheating Issues
An overheating machine can slow down your operation.
- Take Breaks: Frequent breaks can help your machine cool down. If it’s warm to the touch, give it some time to rest.
- Clean the Coils: Dust and residue can reduce the efficiency of coil machines. Ensure that the coils are clean to improve heat dissipation.
3. Persistent Looping or Short-circuiting
If the machine continuously runs or shorts out, it could be a sign of electrical problems.
- Inspect Connections Again: Loose wires are often the culprit. Check for loose connections at both the power supply and machine ends.
- Check for Grounding Issues: If the machine isn’t grounded properly, it may malfunction. Ensure that the grounding wire is intact and securely connected.
Preventative Maintenance for Tattoo Machines
In addition to understanding common issues and quick fixes, preventative maintenance can extend the life of your tattoo machine. Here are some best practices:
1. Regular Cleaning
After every tattoo session, clean your machine thoroughly. Here’s how to do it:
- Disassemble parts and wipe with isopropyl alcohol to disinfect.
- Use a soft brush to remove residue from hard-to-reach areas.
- Ensure that all components are dry before reassembling.
2. Routine Inspection
Regularly inspect your tattoo machine for signs of wear and tear. Check components like needles, grips, and cords. Replace any parts that show signs of damage.
3. Proper Storage
Store your tattoo machine in a cool, dry place. Avoid exposure to humidity or extreme temperatures, which can affect the machine’s performance.
Conclusion: Mastering Tattoo Machine Repair
Understanding tattoo machine repair is crucial for every tattoo artist, whether you are a beginner or an experienced professional. By familiarizing yourself with common issues and quick fixes, you can keep your machine running smoothly and efficiently. Remember, regular maintenance is essential to prevent problems before they arise.
When issues crop up, don’t panic. Follow the fixes outlined in this article, and combine them with preventative measures to ensure your tattoo machine remains in top shape. By taking these steps, you’ll not only enhance your tattooing experience but also create high-quality artwork that your clients will cherish for years to come.
Take action today: clean your machine, conduct a thorough inspection, and ensure everything is in working order. With these proactive measures, you’ll be well on your way to mastering tattoo machine repair!